Self-signed certificate for ePOS printers
ePos printers are designed specifically to work with your Point of Sale system, which sends the tickets directly to the printer.
Some models don’t require an IoT box, but the connection between your web browser and the printer may require a secure connection with the HTTPS protocol. If so, a self-signed certificate is necessary to use your printer.
Note
Please check the following list of compatible Epson ePOS printers. This list includes the following models:
TM-H6000IV-DT (Receipt printer only)
TM-T70II-DT
TM-T88V-DT
TM-L90-i
TM-T20II-i
TM-T70-i
TM-T82II-i
TM-T83II-i
TM-T88V-i
TM-U220-i
TM-m10
TM-m30
TM-P20 (Wi-Fi® model)
TM-P60II (Receipt: Wi-Fi® model)
TM-P60II (Peeler: Wi-Fi® model)
TM-P80 (Wi-Fi® model)
Generate a Self-signed certificate
Access your ePOS printer’s settings with your web browser by navigating to its IP address, for example, http://192.168.1.25.
Note
The printer automatically prints the IP address during startup.
We recommend assigning a fixed IP address to the printer from the network router.
Go to and create a new Self-Signed Certificate.
Common Name: the IP address of the ePos Printer, for example,
192.168.1.25Validity Period:
10
Create and reboot the printer, go to , and check if Selfsigned Certificate is selected.
Export the Self-signed certificate
To avoid having to accept the self-signed certificate several times, you can export it and then import it to your web browser or mobile device.
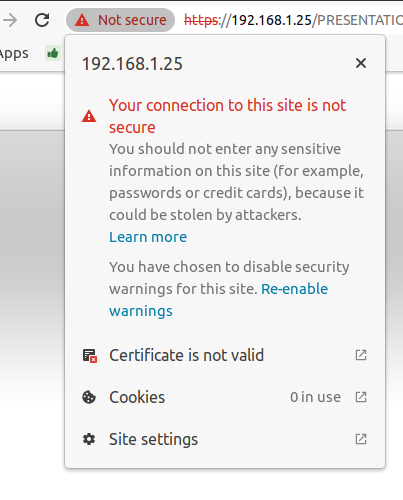
To do so, access your ePOS printer’s settings with your web browser by navigating to its IP address, for example, https://192.168.1.25. Then, accept the self-signed certificate.
Note
Note that the protocol is now HTTPS.
Click on .
Go to the Details tab and click on Export Select X.509 in base 64 and save it.
Import the Self-signed certificate to Windows (Using Chrome)
In your Chrome browser, go to
Go to the Authorities tab and click on Import and select your previous file. Accept all warnings and restart your browser.
Import the Self-signed certificate to your Android device
On your Android device, open the settings and search for certificate. Then, click on Certificate AC (Install from device storage), and select the certificate.